
A hole in the wall looks like a small problem until you try to make it disappear. Filling it is the easy part. Matching the texture, hiding the edges, and getting the paint to blend is where most repairs go wrong, where a Saturday project turns into a patch you notice every time you walk past it.
This guide is the map. It defines what drywall repair covers, helps you figure out which situation you’re actually in, gives you a short overview of each repair path with a pointer to the article that walks through it in full, and shows one cost table so you can compare a kit from the hardware store against hiring someone. Start with the decision guide, then jump to the path that matches your damage.
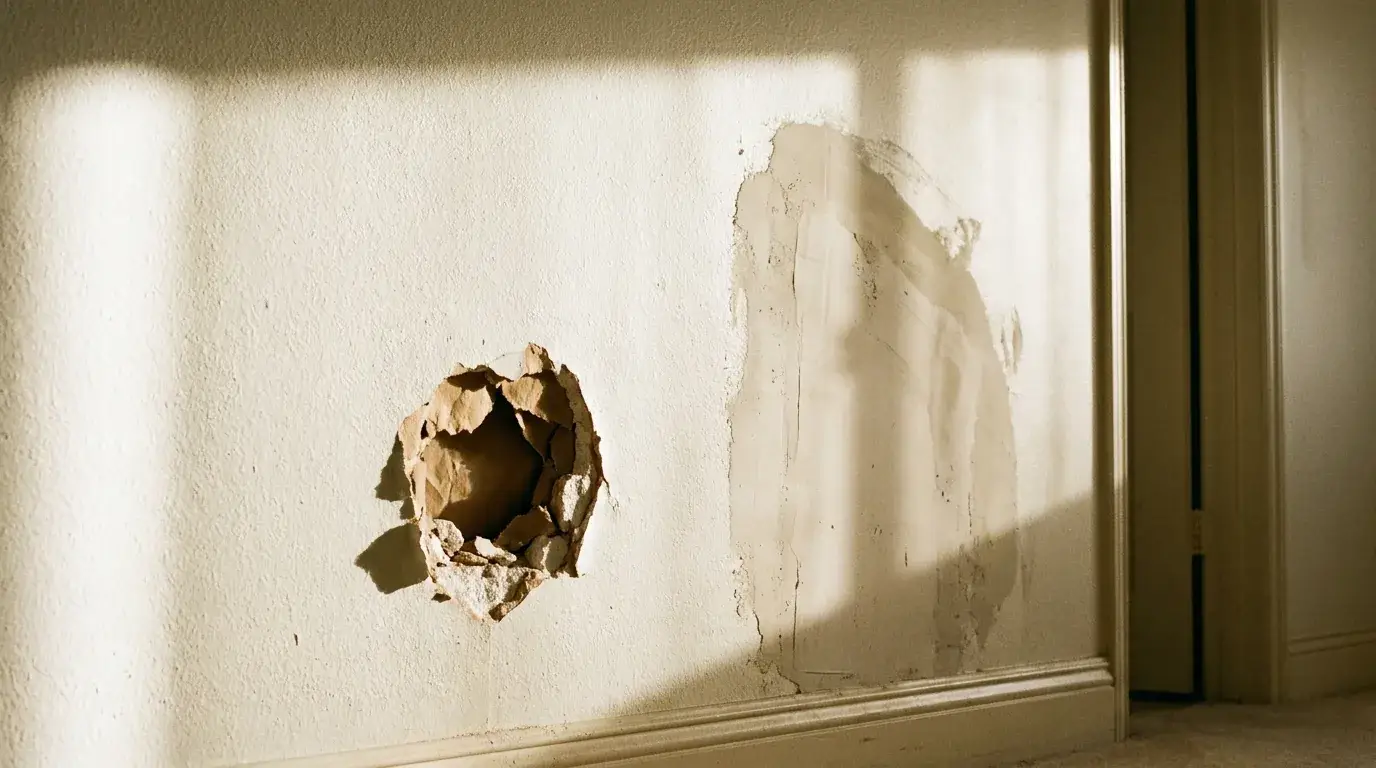
What’s in this guide: what drywall repair means, how to decide what you need by size and location, the small hole path, the patch path, spot repairs, big holes, the patch versus replace tradeoff with costs, ceiling holes, anchor holes, and when to hand it to a pro.
What hole in drywall repair means and when you need it
Drywall repair means restoring a damaged gypsum wall or ceiling back to a flat, textured, painted surface that matches everything around it. It covers nail and screw holes, anchor holes, doorknob punctures, dents from furniture and moving day, fist-sized impacts, cracked seams and popped nails, ceiling damage, and openings a plumber or electrician cut to reach a pipe or a wire.
You need it any time the damage is visible, catches light, or has to be gone before an inspection, a showing, or a move-out walkthrough. What you don’t know yet is which repair applies. That gets decided by three things: how wide the opening is, how deep the damage goes, and what’s happening behind the wall.
How to decide what kind of repair you need
Yes, you can repair drywall yourself in plenty of cases. The deciding factor is rarely skill. It’s size, depth, location, and whether anything behind the wall is wet, live, or loose. A hole the size of a pencil in a smooth-painted hallway is a ten minute job. The same hole in a knockdown-textured ceiling above a shower is not.
Here’s the size rule most guides leave vague. Under roughly 1 inch, filler alone works. Roughly 1 to 4 inches, you need something spanning the gap so the compound has support. Wider than that, the repair needs backing behind the opening or a replacement piece of drywall.
Decision Guide: pick your path
- Under about 1 inch, paper face intact: spackle or lightweight compound. DIY friendly.
- About 1 to 4 inches: self-adhesive mesh patch or a paper-faced patch, then compound in several passes. DIY possible with patience.
- Over about 4 to 6 inches, or edges that crumble: square-cut the opening, add backing, install a drywall patch piece. This is where DIY results start to slip.
- Any hole on a ceiling: treat it one level harder than the same hole on a wall.
- Any hole near plumbing, wiring, a light fixture, or a stain: stop and inspect before you fill or cut.
- Heavy texture (orange peel, knockdown, popcorn): the hole is the easy part. Matching the texture is the job.
Appearance alone won’t tell you which branch you’re on. Press gently around the edges. Soft, spongy, or stained drywall means moisture, not impact. A cosmetic fill traps the problem inside the wall. A musty smell near the opening is the same warning.
One more branch that competitors skip: if you manage rentals, decide by the visit, not by the hole. Batch every patch in a unit into one appointment, photograph each spot before and after for the file, and separate one-off tenant damage from the recurring cracks and popped seams that are building maintenance.
If the hole is tiny
Nail holes, screw holes, picture-hanger pinholes, and shallow dings all take the same treatment: lightweight spackle or all-purpose compound pressed in with a putty knife, then sanded flush once dry. If the paper face around the hole is still intact and the hole is under about 1 inch, this is a confident yes for DIY.
The one catch is shrinkage. Lightweight fillers sink slightly as they dry. A single overfilled pass usually leaves a dimple. Two thin coats beat one thick one every time.
If the opening is a few inches wide
Once the opening is wider than a fingertip, filler has nothing to hold onto and will crack or fall through. This is the mesh and patch zone. As BobVila.com notes, for a medium repair, a hole 1 or 2 inches across is patched with mesh tape and joint compound rather than filler alone.
The tradeoff here is finish quality, not strength. A patch this size sits slightly proud of the wall, so the compound has to be feathered out 8 to 12 inches in every direction to hide the bump. Skip the feathering and you get a visible halo that shows up whenever light rakes across the wall.
If the hole is larger, on a ceiling, or near a utility
Wide openings, sagging drywall, overhead work, and anything suspicious all belong on the pro side of the line. Past roughly 6 inches the patch needs a solid fastening surface behind it, which means furring strips, scrap lumber, repair clips, or cutting back to the studs, plus taped seams on all four sides and three coats of compound.
Location changes the answer too. Ceilings fight gravity, so a heavy patch can sag or crack. A hole near a supply line, a junction box, or a water stain needs the cause fixed first. According to the U.S. Environmental Protection Agency, EPA guidance says water-damaged materials should be cleaned up within 24 to 48 hours to help avoid mold remediation, so a wet wall is a timing problem before it’s a drywall problem.
How to repair a small hole in drywall
The fastest way to fix a small hole is to clear the loose debris, press lightweight spackle or joint compound into the void with a flexible putty knife, let it dry, add a second thin coat if it shrinks, then sand smooth. That’s the whole mechanical repair. For a nail hole it takes minutes.
What takes the rest of the time is the finish. The patch has to be primed before paint because bare compound soaks up color differently than the wall around it. It’ll flash as a dull spot through the topcoat. Then the paint has to match in both color and sheen.
For the full step by step (including how much to fill per coat and how to sand without scuffing the surrounding texture), read “how to repair a hole in the wall with drywall.” If your damage is a single ding smaller than a dime, “small hole in drywall repair” is the shorter path.
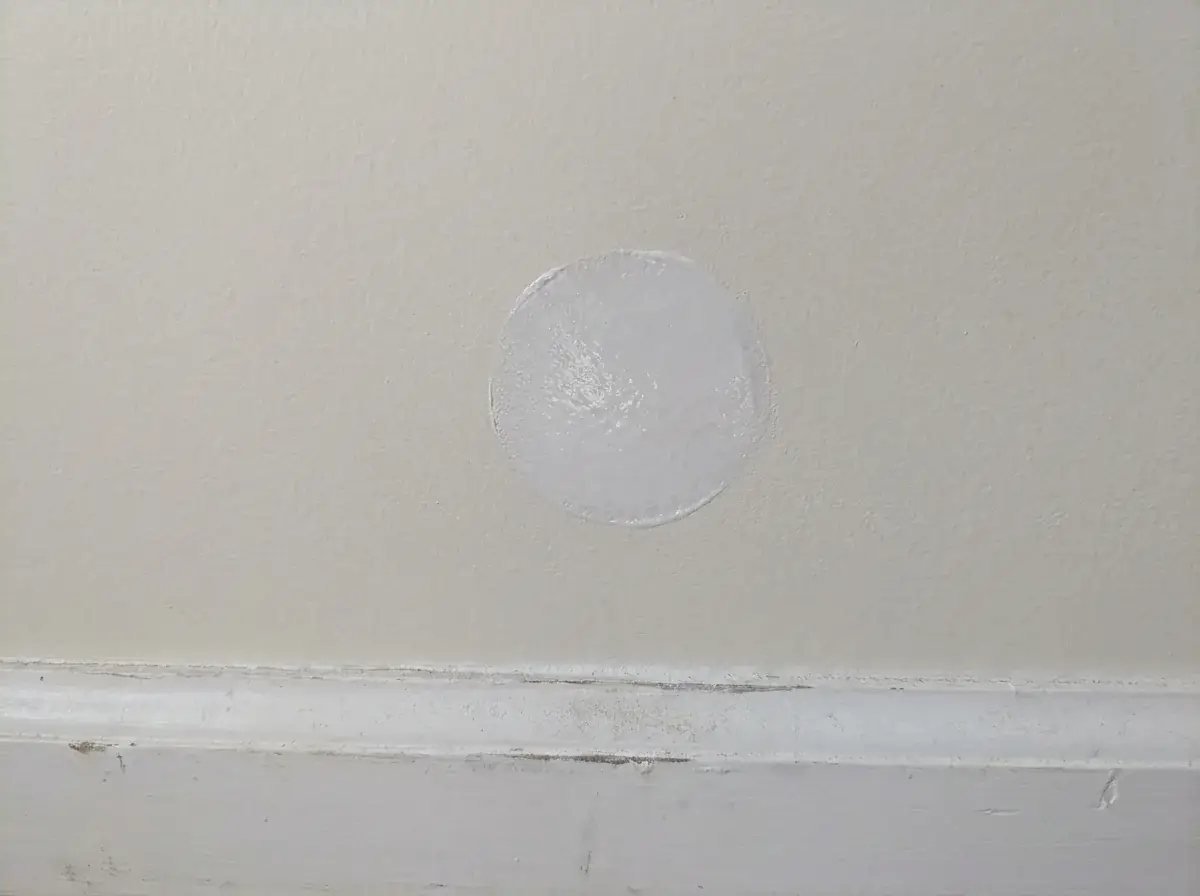
How to repair a drywall patch that needs a cleaner finish
Once filler alone won’t span the gap, you’re choosing between two patch styles. A self-adhesive fiberglass mesh patch sticks over the opening and gets buried under compound applied in crossing directions, then feathered out. A paper-faced patch with a thin metal center is stiffer, holds a flat plane better on larger openings, and is less likely to telegraph a lump.
Both work. Mesh is quicker and more forgiving on small openings. The paper-faced type gives a flatter result when the hole is closer to 4 inches, because there’s less compound doing the structural work.
The full comparison (including which compound to pair with each patch and how many coats each one needs) is in “drywall repair patch.”
How to handle a drywall spot repair
A spot repair is the narrow case where the damage is purely cosmetic: a scuff, a shallow dent, a screw pop, a hairline scratch, or a small chip that hasn’t broken through to the gypsum core. The fix is local, the blend area is small, and nothing behind the surface is involved.
Three findings disqualify it. Torn paper face, drywall that feels soft under thumb pressure, or a spot that moves when you press it all mean the surface is no longer supported. A surface-only fix will crack again.
“drywall spot repair” covers the full treatment, including how to tell a cosmetic blemish from early failure.
How to repair a big hole in drywall
Big holes get repaired by making them bigger and more regular. The damaged area is cut into a clean square or rectangle, backing is added behind the opening so the new drywall has something to fasten to, a patch piece is screwed in, all four seams are taped, then two or three coats of compound are applied and feathered wide before texture and paint.
Bigger openings behave differently because the repair now has to carry load and resist movement. A patch floating on compound alone will crack at the seams the first time the wall flexes from a slammed door. Screws also need to land at least 1 inch in from the drywall edges so they don’t crumble the gypsum.
The full instructions live in “how to repair a big hole in drywall.” “big hole drywall repair” covers the same damage from the hire-it-out angle.
How to judge whether a large drywall repair is worth doing
Patch when the surrounding drywall is dry, firm, and flat. Replace the section when the board is swollen, crumbling, stained, punctured in several places within a couple of feet, or so irregular that the patch would be larger than the sound drywall left around it. A good working line: once the opening passes roughly 12 inches or the edges won’t hold a screw, cutting out a full section between studs is faster and finishes flatter than fighting a patch.
The finish is the other half of the decision. A structurally perfect patch still fails if the texture doesn’t match or the touch-up paint reads as a different shade. That’s the hidden cost in every DIY estimate, and it’s why the cheapest repair path isn’t always the one with the smallest hole.
| Situation | What drives the price | Typical range |
|---|---|---|
| DIY materials for one patch | kit, compound, tape, sandpaper, primer | about $10 to $60 |
| Small hole (nail, anchor, doorknob edge) | one or two coats plus touch-up | $100 to $150 labor |
| Medium hole needing a patch | patch, tape, multiple coats, blending | $150 to $250 labor |
| Large hole or full section | cut out, backing, new board, tape and float | $300 to $450 labor |
| Same repair on a ceiling | overhead work, sag risk, raking light | add 20 to 30 percent |
The labor figures above are Precision Patch Pros’ own ranges by hole size, with ceiling work adding 20 to 30 percent. Texture type, paint matching, and how many holes are handled in one visit move the final number more than the hole diameter does.
Hidden factors that end the DIY conversation: moisture behind the wall, a hole that was cut by a trade and needs to stay accessible, heavy texture you can’t reproduce, a wall that’s part of a fire-rated or sound-rated assembly, and a deadline. If a deposit or a closing date is on the line, the margin for a second attempt is gone.
Not sure which column you’re in? Send two or three photos and get a quote back in about 10 minutes before you buy a single tool.
How to fix a drywall hole in the ceiling
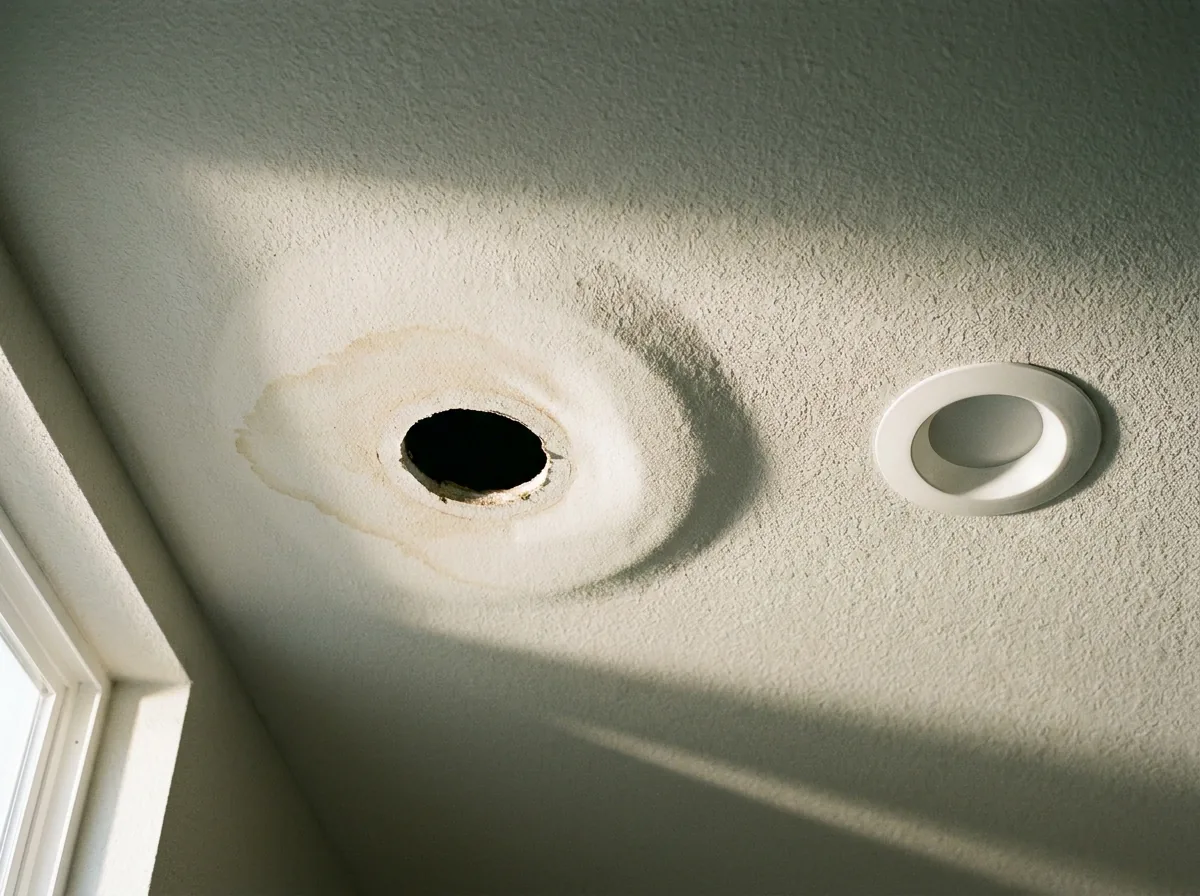
Ceiling holes cost more and go wrong more often than the identical hole on a wall. Gravity pulls wet or heavy patches downward, so any sag around the opening means the board has lost its grip and needs cutting back rather than filling. Overhead work is also slower, because every coat has to be thin enough not to slump.
Lighting is the second problem. Ceilings catch light at a low angle from windows and fixtures, which turns a slightly proud patch or a mismatched texture into an obvious shadow. Popcorn and heavy knockdown ceilings raise the difficulty again, since the blend has to fool the eye in raking light.
For the method, read “how to repair drywall hole in ceiling.” If you want the hire-it-out view (including what to ask about sag and stains), see “drywall repair hole in ceiling.”
How to repair anchor holes in drywall
Anchor holes are the one repair with a second job: the surface has to look right, and the spot may need to hold weight again. You can absolutely do these yourself, with one condition. Ordinary lightweight spackle is not a fastening material. Redrilling into a patched anchor hole and hanging the same shelf will pull it right back out.
That’s why load expectations decide the approach. Light items can go back into a new anchor set a couple of inches away in undisturbed drywall. Anything heavy (like a TV mount or a loaded shelf) belongs on framing, which means locating the stud rather than trusting the old hole.
“how to repair anchor holes in drywall” covers which fillers can be redrilled, how far to move the new fastener, and realistic weight limits for repaired drywall.
When to hire a pro for drywall hole repair
Home Depot and other big box stores sell the patch kits, compound, and tape. They don’t send out a finisher to blend your texture, so the choice is really between doing it yourself and hiring a drywall specialist. Call one when any of these apply:
- Exposed utilities. Wiring, a junction box, a supply line, or a drain inside the opening.
- Moisture or a musty smell. Staining, swelling, or soft board means the cause comes first.
- Visible mold. EPA says moldy areas smaller than about 10 square feet are usually manageable for most homeowners. Anything past that calls for professional evaluation.
- Ceiling sag. Drywall pulling away from the framing overhead.
- Fire-rated or sound-rated walls. Shared walls, corridors, and shafts need the original assembly matched, not just a flat surface.
- Heavy or unusual texture. Orange peel, knockdown, and popcorn are where most DIY repairs get caught.
- A patch that already failed. Cracked, sunken, or flashing through the paint means the underlying cause is still there.
- A deadline. Move-out walkthroughs, listings, and inspections leave no room for a redo.
Landlords and property managers get the most out of a pro visit by batching. Group every hole in the unit into one appointment, keep before and after photos in the file, and flag recurring damage separately from one-time tenant damage so the same wall isn’t being patched twice a year.
When you request a quote, ask exactly what’s included: cutting and backing, tape and compound, number of coats, sanding, primer, texture matching, paint touch-up, furniture protection, cleanup, and whether a return visit is needed. That single question prevents most drywall billing surprises.
Precision Patch Pros handles patching, texture matching, and paint touch-up as one finish job, most of it in a single visit, and backs the work with a 5-year workmanship guarantee. The company is licensed and insured under CSLB License #830875 and has served Southern California since 2020, from Bakersfield and the Antelope Valley through Santa Clarita and the San Fernando Valley. In one recent job, a kitchen ceiling leak meant cutting out the water-damaged section, hanging fresh drywall, taping and floating the whole area, and repainting the kitchen so no sign of the leak remained. Water extraction, dry-out, and mold remediation are handled by other trades, so those get fixed before the drywall goes back.
Ready to stop looking at the hole? Text two or three photos with your ZIP code for a quote in about 10 minutes and get the repair scheduled, texture and paint included.
Frequently Asked Questions
Do I have to repaint the entire wall after repairing one hole?
Not always, but plan on a corner to corner coat on any high-visibility wall in flat paint, since spot painting almost always leaves a faint square where the sheen changes. Satin and semi-gloss are less forgiving than flat and usually mean painting the whole wall. If the existing paint is more than a few years old, sun fading alone can make a perfect color match look wrong.
Why did my patch crack or sink after it dried?
Three usual causes: the filler was applied too thick in one pass, the patch had no solid backing behind it, or the wall is still moving. Keep each coat thin and build in two or three passes rather than one. Use a setting-type compound for deep fills since it hardens by chemical reaction instead of shrinking as it dries. A crack that keeps returning in the same line points at framing movement or a seam problem, not the patch.
How do I match orange peel or knockdown texture so the patch doesn’t stand out?
Identify the texture first, then practice on a scrap of cardboard before you touch the wall. Orange peel is a fine spatter, knockdown is that spatter flattened with a blade after it sets briefly. The timing on that second step is what makes or breaks the match. Feather the new texture well past the compound edge so there’s no hard line, and expect texture matching to be the step that shows up in a quote as its own item.
Is this just drywall damage, or could there be a pipe or wire behind it?
Assume something is back there any time the hole is within a couple of feet of an outlet, a switch, a light fixture, a sink, a toilet, or a shower wall. Kill the breaker to that room, set your blade shallow, and cut with a utility knife rather than plunging a saw. A stud finder locates framing, not every cable and line, so open a small inspection hole and look before making a bigger cut.
Can I patch swollen or water-damaged drywall, or must the section be replaced?
Swollen board with open seams gets removed and replaced, not filled. Drywall can sometimes be dried in place when there’s no obvious swelling and the taped seams are still intact, but once the gypsum core has soaked and expanded it never returns to a flat, solid surface. Fix the leak and dry the cavity first, because a patch over damp framing traps moisture and odor inside the wall.
Do I need a professional to repair a hole in a fire-rated or soundproof wall?
Yes, in most cases. Rated assemblies depend on a specified board type, thickness, fastener pattern, joint treatment, and sometimes insulation inside the cavity. Ordinary half-inch board with all-purpose compound may not restore that rating even though the surface looks fine. This comes up most in condos, apartment demising walls, corridors, and attached garages, where the local building department may have a say.
Does Home Depot fix drywall?
Big box stores are set up to sell you the materials: patch kits, compound, tape, sanding sponges, primer, and board. Any installation offering varies by location and is generally arranged through outside contractors rather than an in-house drywall finisher. If matching texture and paint matters to you, hire the trade that does that work daily.
Is it cheaper to repair one small drywall hole or wait and repair several at once?
Batching is almost always cheaper per hole. A single nail hole still requires the trip, the setup, the floor protection, the drying time, and the paint match, so the effective cost of that one hole is high. Hold the small stuff and have five or six spots handled in one visit, which is exactly how property managers keep turnover costs down.
What should a landlord document for tenant-caused drywall holes?
Photograph every hole with something in frame for scale, note the room and wall, and capture the same angle again after the repair. Keep the move-in condition report alongside it so pre-existing dings aren’t charged twice, and record the invoice line items for patching, texture, and paint separately. Recurring cracks and popped nail heads are building maintenance, not tenant damage. Treating them as the same thing is where disputes start.