
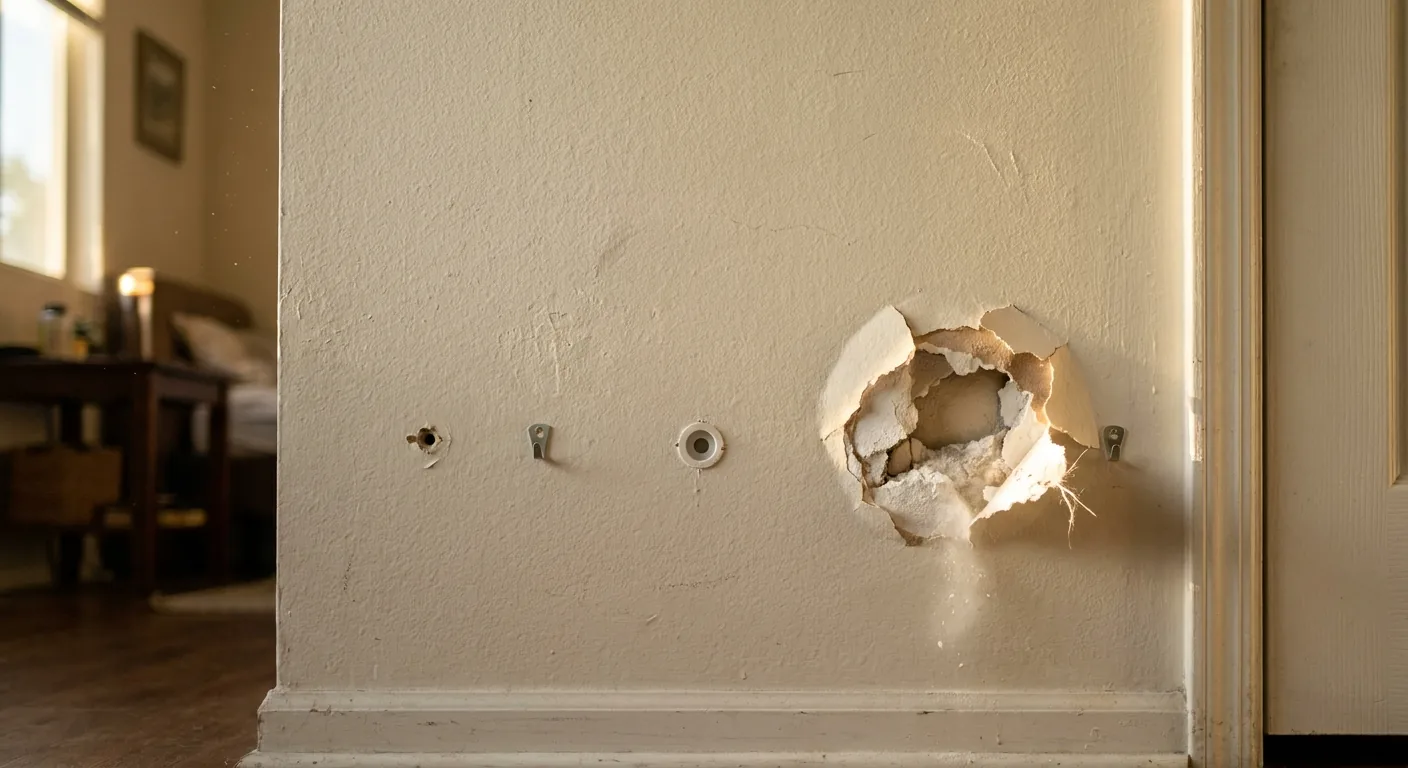
Wall anchors leave behind more than a tidy round hole. Some pull out clean. Others take a chunk of paper and gypsum with them, leaving a crater that laughs at a dab of spackle. The fix is straightforward once you know which one you’re looking at, and the sequence below is the same one a drywall specialist follows on a rental turnover or a move-out punch list.
Quick answer: what repairing anchor holes takes
A clean anchor hole under about half an inch is a cosmetic repair. Remove the anchor, clean the edges, fill in thin coats, sand, prime, paint. Active work time is 15 to 30 minutes per hole. That said, drying and curing stretch the job across a few hours to a full day depending on the filler you pick.
The one factor that decides everything is what the wall has to do next. If it only needs to look untouched, filler and paint finish the job. If hardware is going back up in that same spot, filler won’t carry it. Spackle has no holding power for an anchor, and no amount of drying changes that.
Before you start: check the hole, the wall, and the tools
Gather materials first, then classify the damage, because the classification decides which materials you actually open.
Materials and tools:
- Lightweight spackle or patching compound for holes under roughly 1/4 inch
- All-purpose or setting-type joint compound for deeper or wider fills
- 1.5 inch and 4 inch putty knives, and a 6 inch taping knife for feathering
- 120 to 150 grit sandpaper or a fine sanding sponge
- Utility knife, needle-nose pliers, a screwdriver, and a stud finder
- Shop vacuum or damp cloth for dust
- Drywall primer (PVA or a quality latex primer) and matching wall paint
- Self-adhesive mesh patch or a drywall plug only if the opening is torn open past 1/2 inch
Match the method to the damage:
- Clean screw hole, under 1/4 inch: direct fill, one or two passes. Nothing else needed.
- Plastic expansion anchor hole, 1/4 to 1/2 inch: remove the anchor, fill in layers, expect a second coat after shrinkage.
- Torn or cratered opening over 1/2 inch, or crumbling paper: this stops being a filler job. It needs a patch, backing, or a cut-out repair.
Also check what’s behind the wall before you widen anything. Wiring and plumbing run through stud bays, and an anchor hole near a switch or a bathroom wall deserves a scan first. As the U.S. Environmental Protection Agency notes, pre-1978 buildings add another wrinkle: paid work that disturbs painted surfaces can fall under federal lead-safe repair rules, and the firm doing the work generally has to be certified.
Step 1: remove the anchor without enlarging the hole
Take the anchor out whenever you can do it without tearing paper. Yes, you should remove a plastic anchor before filling. An anchor left flush or proud under compound telegraphs through the paint as a ring, and the plastic gives the filler nothing to grip.
Method depends on the hardware:
- Threaded plastic anchor (the self-drilling kind with coarse threads): back it out with a screwdriver, turning counterclockwise, the same way it went in. It usually walks out clean.
- Plastic expansion sleeve: thread the original screw in two or three turns, just enough to bite, then pull straight out with needle-nose pliers while rocking gently side to side.
- Molly bolt: the sleeve has already flared behind the wall and won’t pull out. Remove the screw, then cut the collar flush with a utility knife and tap the body into the cavity with a nail set.
- Toggle bolt: back the bolt out and the wings drop into the stud bay. That’s fine. A loose toggle wing inside a wall cavity is harmless, and fishing for it only widens the opening.
The mistake to avoid? Yanking a stubborn anchor straight out with pliers. That’s what turns a 3/8 inch hole into a 1 inch crater with a torn paper face. If the anchor resists, recess it. Push or tap it slightly below the wall surface so filler can bridge over it, then move on. Never leave an anchor sitting at or above the surface.
Step 2: clean loose gypsum and judge whether the hole is still cosmetic
Brush and vacuum every bit of gypsum dust from the hole and the wall around it, trim any torn or lifted paper back to sound material with a utility knife, then knock down the raised lip with 120 to 150 grit paper. Compound won’t bond to loose powder or flapping paper, and that single shortcut causes more failed patches than any filler choice.
Now judge the opening honestly. Torn paper is the tell. If the paper face has delaminated and the gypsum underneath crumbles when you press it, the hole is bigger than it looks.
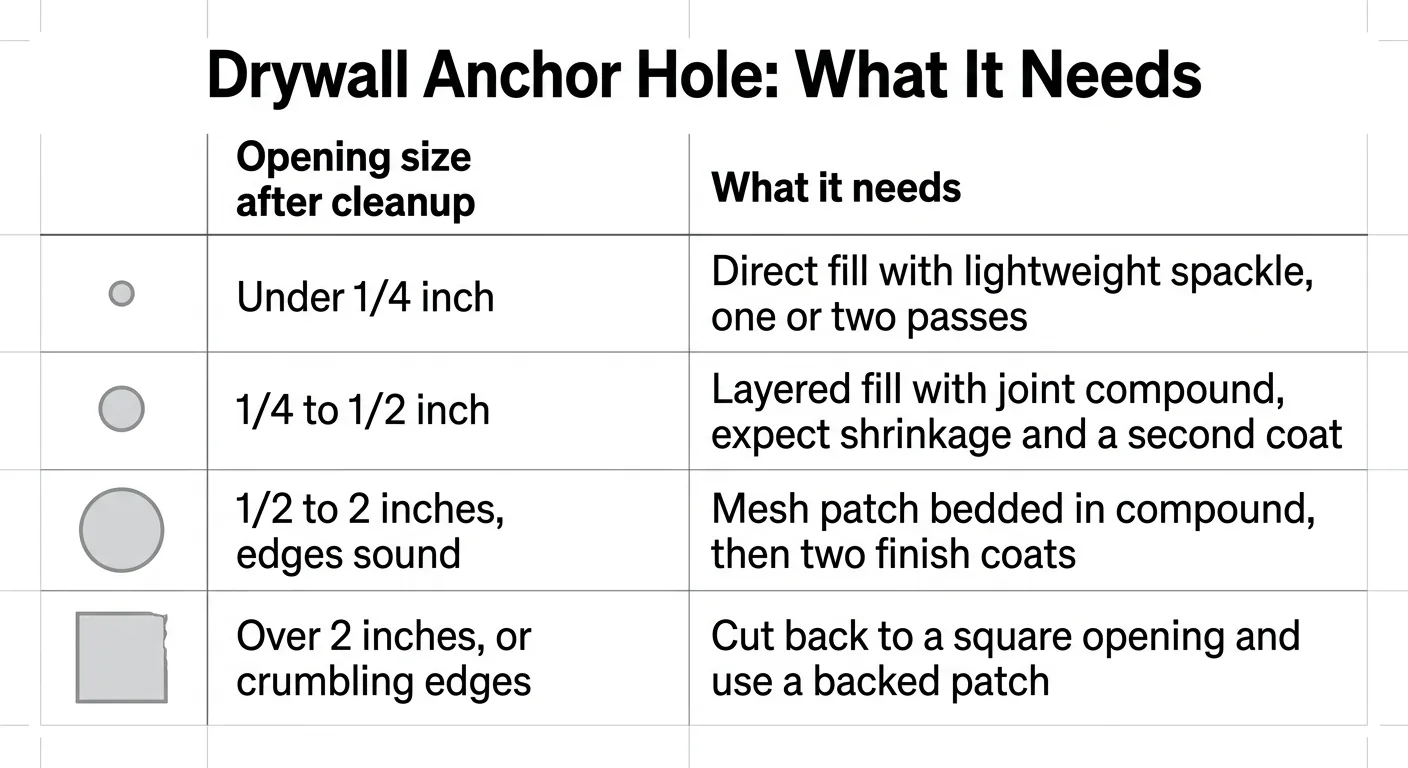
| Opening size after cleanup | What it needs |
|---|---|
| Under 1/4 inch | Direct fill with lightweight spackle, one or two passes |
| 1/4 to 1/2 inch | Layered fill with joint compound, expect shrinkage and a second coat |
| 1/2 to 2 inches, edges sound | Mesh patch bedded in compound, then two finish coats |
| Over 2 inches, or crumbling edges | Cut back to a square opening and use a backed patch |
Skip the toothpick-and-glue trick. It packs a hole so a screw feels tight for a week. Then the same anchor pulls out again and takes more wall with it. For anything past 2 inches, the full sequence lives in “How to Repair a Big Hole in Drywall: 7 Steps That Hold Up.”
Step 3: choose the filler that matches the repair
Lightweight spackle handles small cosmetic holes. Joint compound handles wider or deeper ones. Neither restores load capacity, which is the part most guides skip.
| Filler | Best for | Shrinkage | Sanding | Holds an anchor? |
|---|---|---|---|---|
| Lightweight spackle | Screw holes and anchor holes under 1/4 inch | Low, but dimples if applied thick | Easiest | No |
| All-purpose joint compound | 1/4 to 1/2 inch holes, feathering, multiple holes | Moderate, plan on two coats | Easy | No |
| Setting-type compound (hot mud) | Deep cavities, same-day schedules | Very low | Hard, sand promptly | No |
| Two-part epoxy filler | Rare, non-drywall substrates | None | Very difficult | Not in gypsum |
Setting-type compound is the pro choice when a deep hole has to be finished fast, because it hardens by chemical reaction instead of evaporation. According to USG, USG’s Easy Sand 90 hardens in roughly 95 to 120 minutes, though hardened is not the same as fully dry for painting. Air-dry compounds are slower by design. USG says its all-purpose joint compound can take about a day to dry under standard conditions.
One note on the popular patch kits. According to DAP, for a hole that goes completely through the drywall, the manufacturer instruction is to apply spackling to the back of a mesh patch, then press it firmly over the opening. That works on a half-inch blowout. On a 1/4 inch anchor hole it only builds a hump you’ll have to feather out twice as far.
If you’d rather not gamble on which filler your wall needs, send Precision Patch Pros 2 to 3 pictures and your zip code through the drywall repair page and you’ll have a quote back within 10 minutes.
Step 4: fill the hole in thin coats and let it harden fully
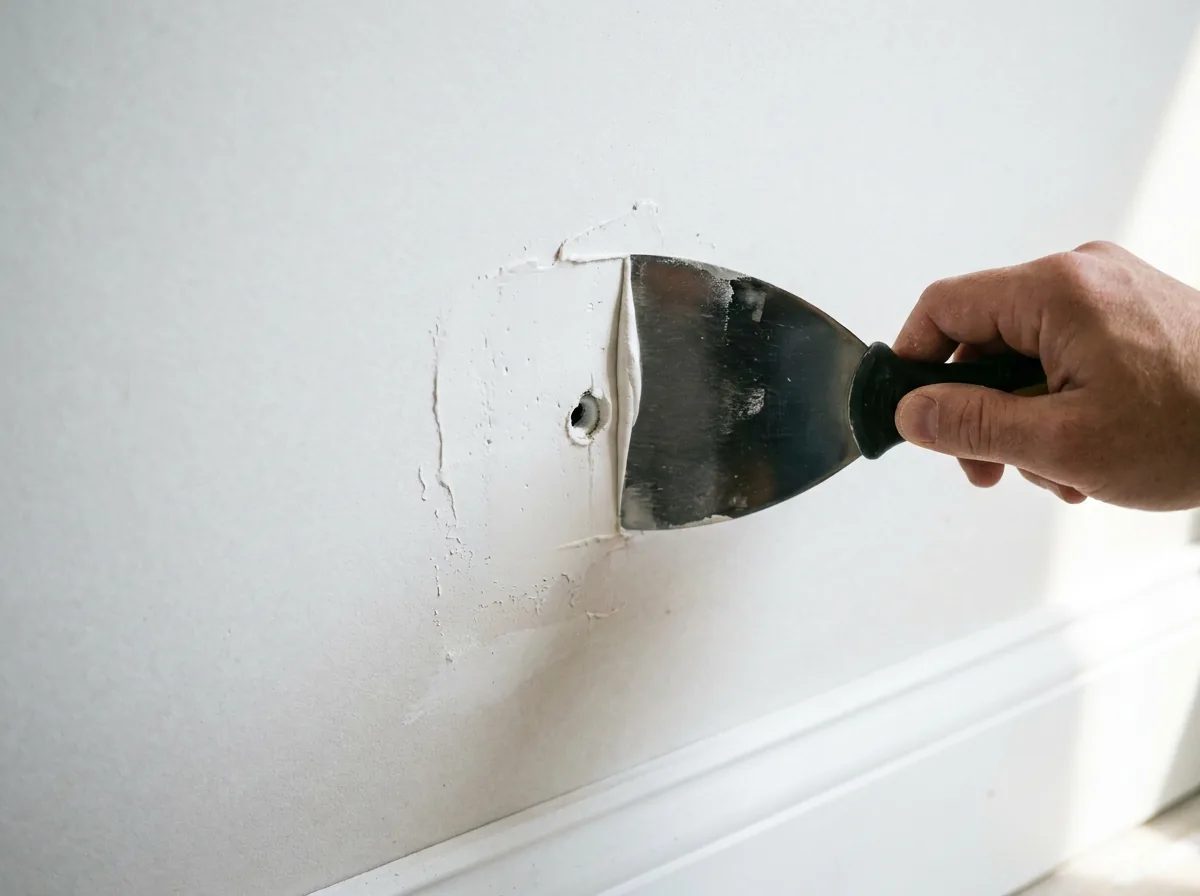
Load a small putty knife, press compound firmly into the bottom of the cavity, then make a second pass from a 90 degree angle to collapse any air pocket. Leave the surface barely proud. A hair above flush, never a mound.
Depth matters more than width here. A cavity deeper than about 1/4 inch gets built in two or three thin passes, not one thick blob. One thick fill traps a soft wet center, shrinks as it cures, and leaves you a dimple that shows up the moment paint goes on.
Drying times run from roughly 15 minutes to a few hours for many spackling compounds, depending on the product and the depth. Cool or humid rooms push that longer.
Pro-tip box: the two cautions that cause redos
- Dry to the touch isn’t ready to sand. Test it. The filler should be hard, no longer cool against the back of your hand, and it should produce fine powder under sandpaper. If it smears, rolls, or shows a dark or translucent center, it’s still wet inside. Sanding now rips the patch out and you start over.
- Never reload a filled hole with hardware. Filler restores the surface, not the wall’s grip. Reinstalling a shelf, towel bar, mirror, or TV bracket into cured compound is a second failure waiting to happen. Move the fastener to a stud, relocate it a couple of inches into intact drywall clear of the old cavity, or open the wall and install wood backing behind it.
For multiple holes across a room, batch the work. Fill everything, walk away, sand everything, then prime everything. Rushing one wall in a single afternoon is how patches end up visible under the hallway light.
Step 5: sand, prime, and paint so the repair disappears
Sand only the raised filler, feathering the edge outward so there’s no circular ridge, then prime the spot before any color goes on. Yes, you need primer. Bare compound is far more porous than the painted wall around it, and paint sinks into it at a different rate. That’s exactly what creates that dull halo you see from across the room.
Use a fine sanding sponge or 150 grit and light pressure. Heavy sanding cuts through the surrounding paper face, and a fuzzed paper edge swells under primer into a ring that’s harder to hide than the original hole. Wipe the dust off with a slightly damp cloth and let it flash off.
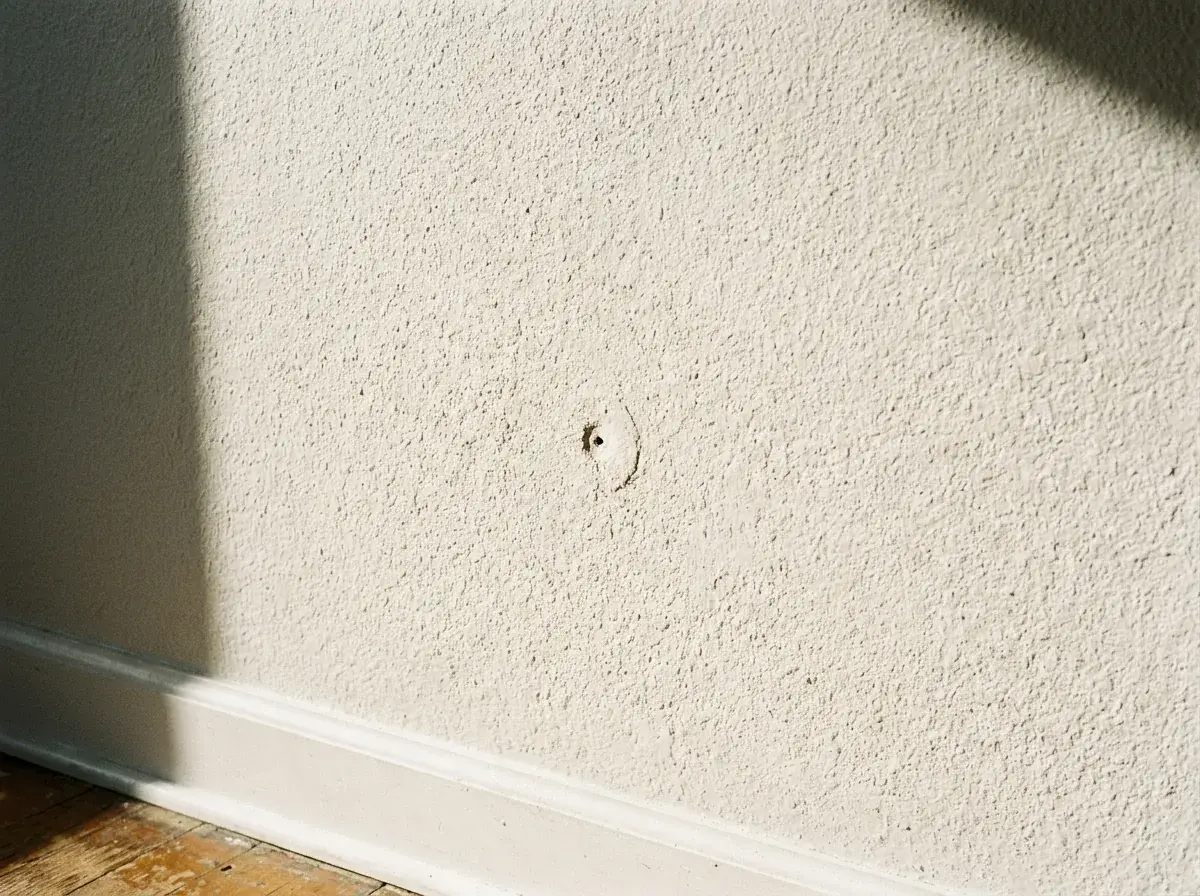
Prime a little past the patch, let it dry per the label, then paint with the same sheen as the wall. Sheen mismatch shows even when the color is perfect. On a textured wall, texture goes on after the flat patch is finished and before paint. A smooth filler spot on orange peel or knockdown stays visible no matter how well the color matches, which is why texture matching is its own skill.
When to call a pro instead
Call a specialist when the repair has to hold weight, when the drywall keeps failing in the same place, or when the finish has to pass an inspection. Those three cases cost more in redos than they ever save in DIY labor.
The clear escalation list:
- Repeat pullout in the same area. A second failure usually means weakened paper, moisture, an oversized cavity, or an anchor that was never rated for the load.
- Heavy hardware going back up: grab bars, floating shelves, cabinets, large mirrors, TV mounts. These need a stud or real blocking, not an anchor in patched gypsum.
- Torn, crumbling, or bulging drywall, or damage spread across more than one stud bay.
- Suspected wiring or plumbing behind the opening. Stop if anything is exposed.
- Water staining, sagging, or soft board. At Precision Patch Pros, water damage gets a moisture meter check to confirm the area is dry and an antimicrobial solution before new drywall goes in.
- Fire-rated walls and commercial partitions, where compound alone isn’t an acceptable patch.
- Textured walls, or a wall that must look untouched under a landlord walkthrough or listing photos.
A specialist handles patch, texture match, and paint touch-up in one visit, which matters when a move-out deadline is days away. Precision Patch Pros has been doing exactly that across Kern County, the Antelope Valley, the High Desert and the north Los Angeles valleys since 2020, licensed and insured under CSLB License #830875, with a 5-year workmanship guarantee on the work. HomeAdvisor reports that small hardware repairs like these are priced modestly; anchor repair runs $75 to $100 nationally. For the full breakdown by hole size and repair type, see “Hole in Drywall Repair Guide: Costs, DIY or Pro.”
Got a wall full of anchor holes and an inspection on the calendar? Send us 2 to 3 pictures and get a quote in 10 minutes.
Frequently Asked Questions
How do you fill large wall anchor holes?
Anything over about 1/2 inch needs more than filler. Clean the opening back to sound gypsum, square it up with a utility knife, then either bed a self-adhesive mesh patch in joint compound or cut in a drywall plug with backing behind it. Finish with two thin coats feathered 6 to 8 inches past the patch so the repair has no visible edge.
Will spackle hold a drywall anchor?
No. Spackle and joint compound are surface fillers with no structural strength, so a new anchor set into cured filler will pull out under load, often taking more wall with it. Move the fastener to a stud, shift it a couple of inches into undamaged drywall away from the old cavity, or install wood backing behind the wall.
What can I use to cover screw holes in drywall?
For holes under 1/4 inch, lightweight spackle applied with a 1.5 inch putty knife is the fastest option and sands flat with a fine sponge. Press it in, make a second pass from a different direction to clear voids, and prime the spot before paint so it doesn’t flash.
Can I reuse the hole after removing a drywall anchor?
Only for something light like a picture hook, and only if the hole is intact with no torn paper. Once an anchor has pulled out under load, the surrounding gypsum is compressed and the paper is compromised, so the same spot will fail again. Relocate roughly two inches away or find a stud.
How do you repair a drywall hole after a toggle bolt pulls out?
Toggle failures usually leave a ragged opening of 1/2 inch or more with lifted paper. Trim the loose paper, then patch the opening with mesh or a backed plug rather than filling it. If the fixture is going back, plan on a stud, a 1×3 backer behind the drywall, or a toggle rated well above the actual load.
How far from the old hole should I drill the new anchor?
Aim for at least two inches of clearance from the edge of the damaged area so the new anchor sits in undisturbed gypsum. Check for a stud first with a stud finder, since a screw into framing beats any anchor. Overlapping the old cavity is the most common cause of a second pullout.
Can I fix dozens of anchor holes in one weekend?
You can fill them all in one session, but the finish needs staged time. Batch the work. Remove and clean everything, fill everything, then wait for full cure before sanding. Multiple coats plus primer and texture typically push the whole sequence to roughly 48 hours before final paint, which is why turnover crews fill on day one and paint on day two.