
Quick answer: What it takes to repair a drywall crack that holds up
Yes, cracked drywall can be repaired. Most cosmetic cracks are a one-afternoon job plus overnight drying. You need joint compound, drywall tape, a 6-inch knife and a wider 10- or 12-inch knife, fine sandpaper, primer-sealer and matching paint. Expect two or three coats, with waiting time between each.
The part that decides success has nothing to do with how smoothly you spread mud. It’s whether the crack is still moving. A stable shrinkage crack in a seam will stay closed for years once it’s taped and feathered properly. A crack caused by framing movement, settlement or a slow leak will reopen through any patch you put over it. No matter how good the finish looks on day one.
So the real sequence is diagnose first, then repair. Spend ten minutes figuring out what caused the crack. The other three hours of work will actually last.
Before you start: materials, tools, and the cracks this method fits
Gather everything before you open a single container. Setting compound starts hardening the moment it hits water. You don’t want to hunt for a knife mid-job.
Materials
- Setting-type joint compound (sold as a powder in bags, graded by set time)
- Premixed all-purpose or lightweight joint compound for finish coats
- Drywall tape: paper tape, or self-adhesive fiberglass mesh. Mesh is commonly sold in 1-7/8 in. x 180 ft and 1-7/8 in. Sherwin-Williams says its FibaTape Self-Adhesive White Fiberglass Drywall Joint Tape is 1-7/8 in. x 180 ft.
- Primer-sealer
- Matching interior paint
- Spray texture, if the wall is orange peel or knockdown
Tools
- 6-inch drywall knife and a 10- or 12-inch knife
- Utility knife
- Mud pan and a clean mixing container
- 120-grit sandpaper and a 220-grit sanding sponge
- Work light you can aim sideways across the wall
- Drop cloth, painter’s tape
Safety gear
- Dust mask or respirator
- Eye protection
Aerosol crack-repair sprays and all-in-one kits exist, and they do have a place. A kit with a mesh patch works fine for a small drywall repair, meaning a hairline or narrow crack under about a foot long in a flat, stable wall. Spray-on fillers are closer to a cosmetic cover-up. They flex. They hide a line for a season. But they don’t reinforce anything.
Stop and reassess if any of these are true:
- The drywall feels soft, spongy or cool to the touch near the crack
- There’s a brown or yellow stain following the crack line
- The crack is wider than about a quarter inch
- It runs diagonally from a door or window corner
- It has come back after two previous repairs
- The ceiling around the crack sags or bows
Any one of those means the method below treats a symptom, not the cause.
The job at a glance
| Step | Action | Time |
|---|---|---|
| Step 1 | Match the tape and the compound to the crack | 10 min |
| Step 2 | Scrape, open the crack, prefill and embed the tape | 30 min |
| Step 3 | Let the first coat set or dry | Under an hour with setting compound, overnight with premixed |
| Step 4 | Two wider coats, knock down ridges, sand flat | 1 to 2 hours of work, plus drying between coats |
| Step 5 | Texture, prime and paint | 2 hours |
Step 1: choose the right tape and compound for the crack
Use paper tape for any crack you expect to stay closed permanently. Reserve fiberglass mesh for short, flat, stable cracks where convenience matters more than tensile strength. Paper tape has almost no stretch, which is exactly what you want across a joint that wants to open.
Here’s the decision rule most guides skip:
| Crack condition | Tape choice | First coat over it |
|---|---|---|
| Hairline, under 1/16 inch, stable | Paper tape (or no tape if it’s a true surface craze) | All-purpose compound |
| Narrow crack along a seam, up to 1/4 inch | Paper tape | Setting-type compound |
| Short, flat, non-recurring crack | Fiberglass mesh | Setting-type compound only |
| Recurring crack, or at an inside corner | Paper tape, after removing the old failed tape | Setting-type compound |
| Wider than 1/4 inch, or crushed gypsum edges | Cut back to studs and replace the section | Setting-type compound |
The compatibility rule matters more than the tape debate. Fiberglass mesh is open, so it needs a compound with real compressive strength filling the weave. Manufacturer guidance points to setting-type compounds such as Durabond or Easy Sand for that first coat over fiberglass. Cover mesh with ordinary premixed all-purpose and you get a repair that cracks along the tape edges within a year.
USG reports that Sheetrock Brand All Purpose Joint Compound is recommended for laminating and repairing cracks in interior plaster and masonry not subject to moisture.
Mistake to avoid at this step: picking the tape by what’s easiest to stick on and then ignoring the first-coat column in the table above. That mismatch is the single most common reason a “fixed” crack reappears.
Step 2: embed the tape and fill the crack with the first coat
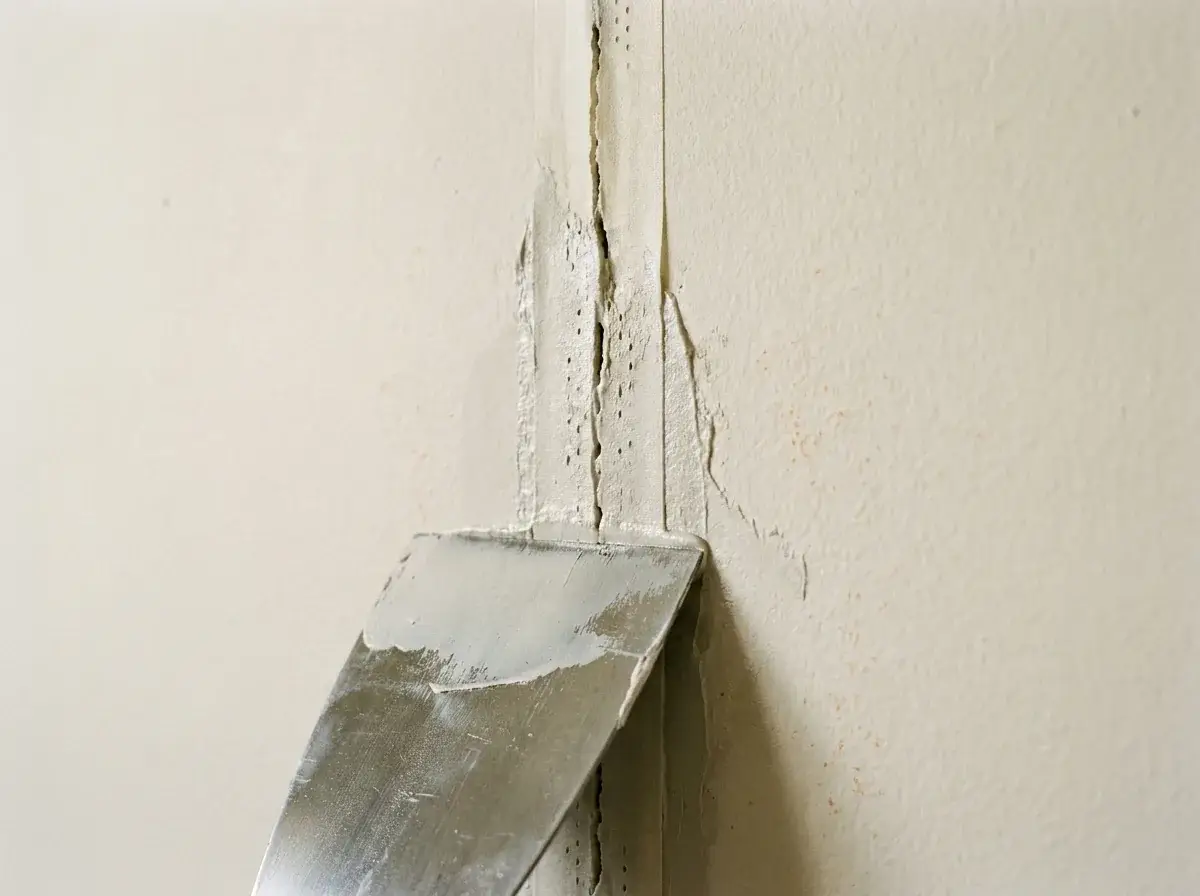
Fill the crack and bed the tape in one continuous pass, working the compound into the opening before the tape goes down. A hairline crack under 1/16 inch can be filled flat without widening. Anything from 1/16 inch up to a quarter inch should be opened into a shallow V with a utility knife, then taped. A filler-only repair in a moving joint has nothing holding the two sides together.
- Clean and open. Scrape off loose paint, torn paper and crumbly old compound along the whole crack, then drag a utility knife along it at an angle to cut a V about 1/8 inch deep. Brush out the dust. A repair over delaminated material fails even when the new mud is perfect.
- Prefill. Press setting compound into the V with the 6-inch knife, working across the crack, not along it. Scrape it flush.
- Bed the tape. Lay a thin layer of compound over the filled crack, center the tape on it, then draw the knife down the tape at a low angle, starting in the middle and working outward. Leave roughly 1/32 inch of compound under the tape and let the excess curl off the knife.
- Skim. One thin coat over the tape locks the edges down and starts the build. The first coat fills, it doesn’t finish. Leave no ridge.
Mistake to avoid at this step: pressing tape onto bare drywall, or re-pulling it after it’s bedded. Bubbles mean there wasn’t enough mud under the tape. Wrinkles mean the tape was stretched or lifted and reset. A tape edge that sits proud of the wall means you pressed hard in the middle and light at the sides. All three show up later as fuzz, when you sand into the tape trying to flatten the repair.
Step 3: let it dry or set fully before adding more mud
Wait until the compound is both hard and dry. Those are two different things. Setting compound hardens through a chemical reaction on a clock, so a 45-minute product is hard in 45 minutes, and that number is working time, not full cure. Premixed compound dries by evaporation, which takes far longer. All-purpose premixed generally needs around 24 hours at roughly 70°F and 70% relative humidity. Longer when the room is cool or the coat is thick.
Local air changes the math. In the high desert and the inland valleys, dry summer air can pull a thin coat tight in a few hours. In a cool winter garage or a closed-up bathroom, the same coat can still be damp the next morning. Press a fingernail into the edge. If it dents or feels cool, it isn’t ready.
A 20-minute mix hardens fast enough to recoat the same afternoon, which is why a two-coat day is realistic with hot mud and almost never realistic with premixed. A thick application of setting compound still holds water inside, though. Recoating over that traps moisture under a sealed layer.
What rushing actually does: the top coat dries and shrinks while the layer beneath is still moving. You get a sunken line over the crack, soft spots that gouge when you sand, and sometimes a fresh hairline right down the center of your repair. The second coat goes on only when the first is fully hard, fully dry and scraped free of ridges.
A box fan moving air across the room helps. A heat gun pointed at the patch does not. Fast surface drying over a wet core is how you build a patch that cracks in month two.
Step 4: build the repair out in wider coats and sand it flat
Each coat gets wider than the last, so the repair dissolves into the wall instead of sitting on it. The first coat covers the tape, maybe 5 inches wide. The second extends about 2 to 3 inches past that on each side. The final coat feathers another 4 to 6 inches beyond, applied thin with the 12-inch knife held almost flat. Three coats total is the normal count for a taped crack.
Between coats, knock down ridges with the edge of a clean knife rather than sandpaper. Less dust, less risk of digging in.
Sanding is refinement, not removal. Use 120-grit only on high spots, then switch to a 220-grit sponge for the feathered edges. Sand in circles with light pressure. The moment you feel fuzz or see white fiber, you’ve cut into the tape. You owe the wall another coat.
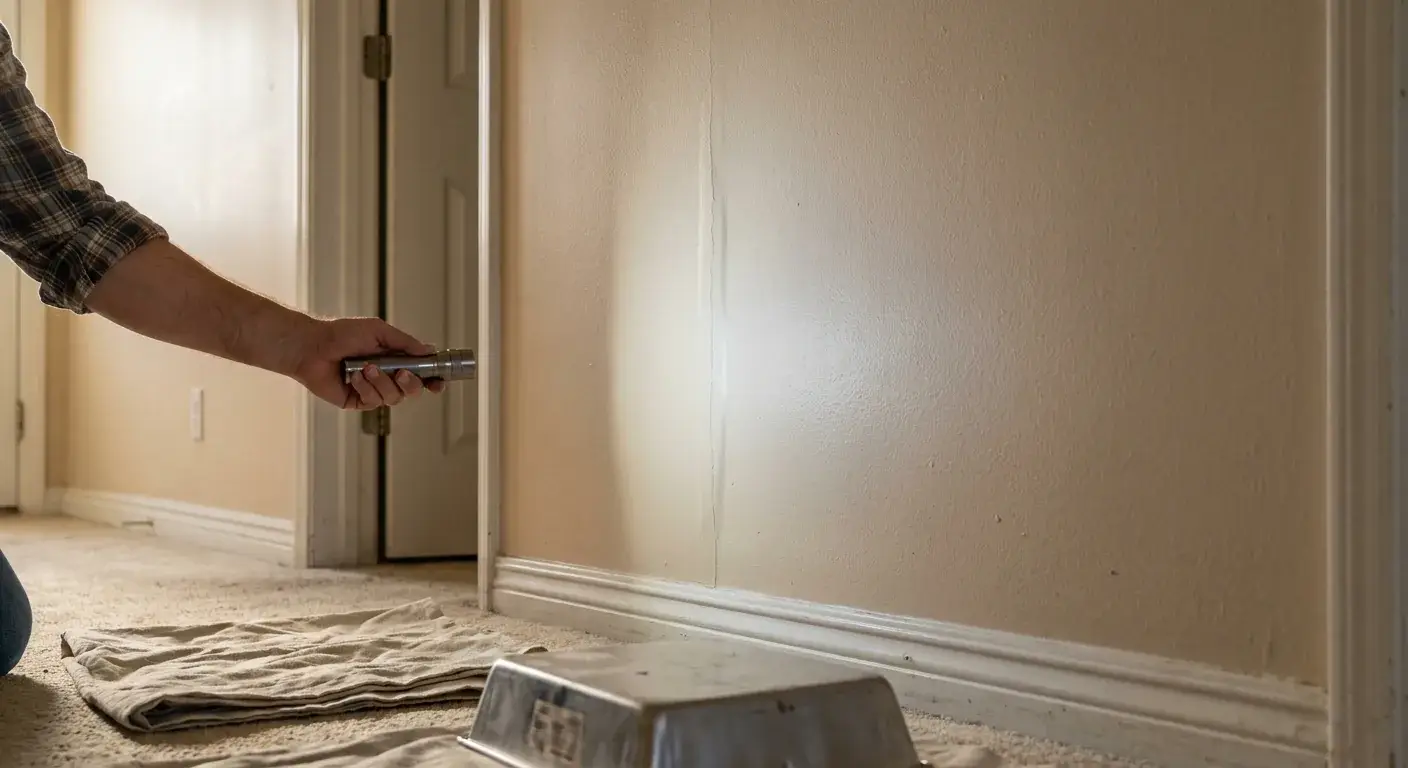
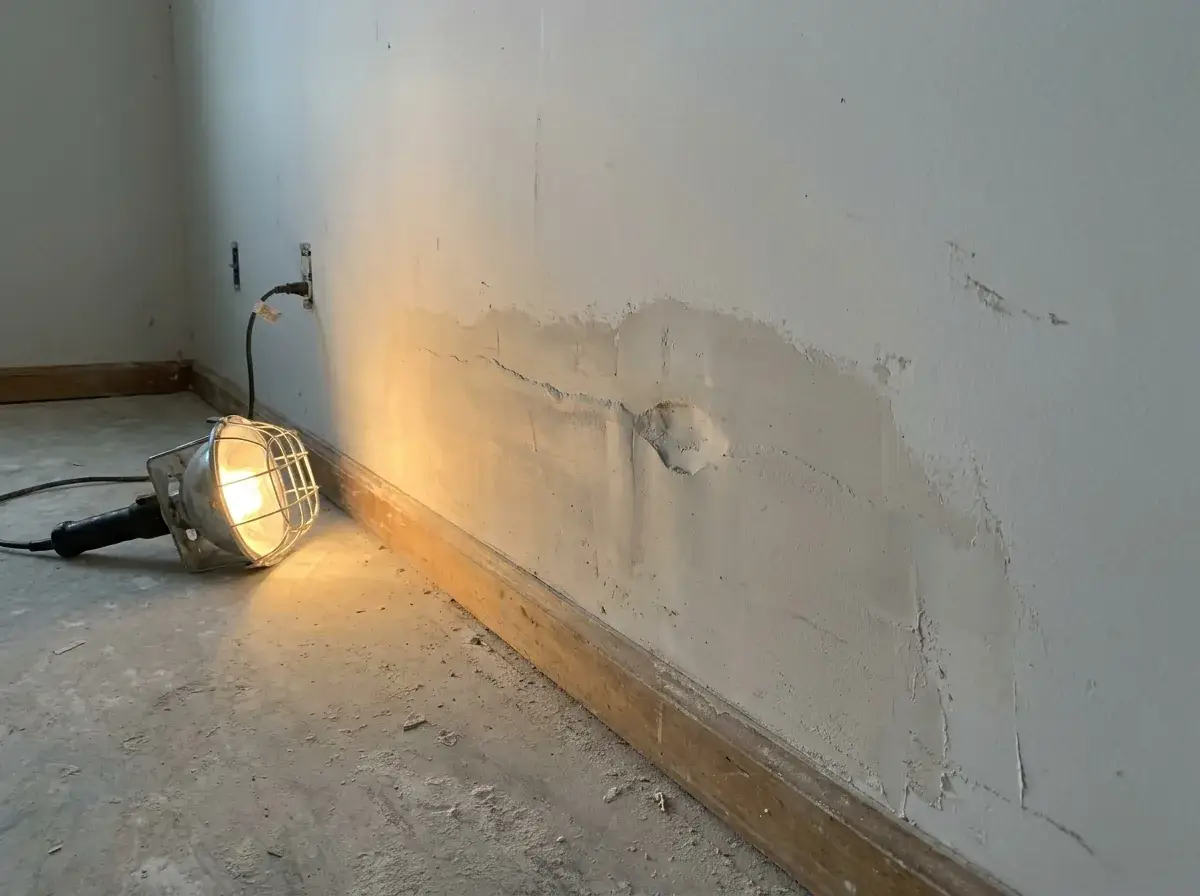
Check it under side lighting before you prime. Turn off the room lights, set a work light on the floor or hold a flashlight flat against the wall. Look down the length of the repair. Raking light shows every ridge, dip and knife mark that looks invisible head-on. A good repair reads as one continuous plane. If you see a shadow line, that’s a ridge. If you see a bright halo, that’s a depression, and the fix is another thin wide coat, not more sanding.
This is also where recurring cracks reveal themselves. If the crack reopens as a thin line through your second or third coat, the wall is moving and the compound is reporting it. Press both sides of the crack with your palms. Movement, a hollow sound or a visible shift means the drywall isn’t fastened tight to the framing. No amount of mud will fix it. Add screws into the studs on both sides and retape, or cut back and replace the section.
A crack that follows a taped joint usually means the old tape has let go. Cut the loose tape out back to sound paper and retape instead of skimming over it. “how to repair a cracked drywall seam” gives the full sequence.
Step 5: prime, paint, and check whether the repair actually held
Prime before you paint. Joint compound is porous and drinks paint at a different rate than the sealed wall around it. Skipping primer leaves a dull patch showing through the color, a problem painters call flashing. A pigmented primer-sealer over the full repair area and a few inches past the feathered edge solves it.
Texture comes before paint, not after. Orange peel and knockdown both come in aerosol cans with adjustable spray patterns. Test on cardboard until the droplet size matches the wall, then spray light passes. Let the texture flash off for about 10 minutes, and knock it down with a wide knife if the wall is knockdown. Smooth walls skip this entirely. Popcorn ceilings need a different product and a steadier hand.
Then paint. Sheen is as important as color here. A flat patch on an eggshell wall shows from across the room even with a perfect color match. Roll with the same nap you’d use on the whole wall so the stipple matches.
Be honest about the outcome. On a flat-painted wall with a fresh can of the original paint, a well-feathered repair truly disappears. On a wall with sun fade, a sheen above eggshell, or texture you can’t quite match, touch-up painting will show an outline no matter how good the drywall work is. Rolling corner to corner is the only invisible option in that case. That’s the honest tradeoff, and it’s the reason crews who do this daily cut the repair in, texture, and paint in one visit while the mud and the technique are still fresh.
If matching texture is the part you’d rather not gamble on, send Precision Patch Pros a couple of pictures and your zip code and the quote comes back within 10 minutes.
When to call a pro instead
Stop patching and get the cause looked at when the crack is telling you something structural, wet or recurring. Cosmetic repair on a moving or saturated wall is money spent twice.
Call for an evaluation when:
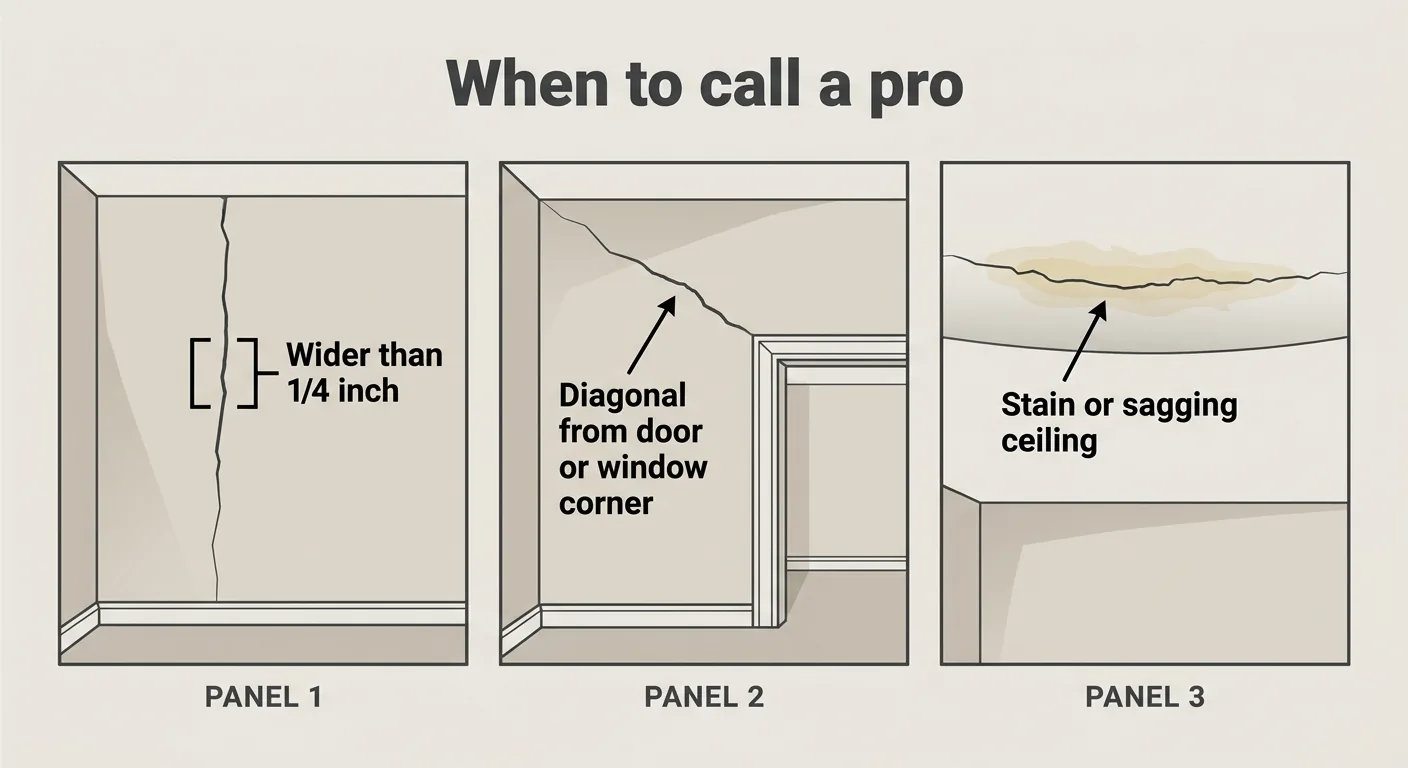
- The crack is wider than about a quarter inch. Past that width the gypsum edges are usually crushed and the sound fix is cutting back to studs, not filling.
- It runs diagonally from a door or window corner. Openings concentrate stress. Diagonal cracks there, especially with a matching crack on the other side of the wall or a door that suddenly sticks, point to framing or foundation movement.
- The ceiling sags, stains or feels soft. Water-loaded gypsum loses strength and the ceiling can come down. Ceiling cracks are also the hardest to blend, since every light fixture in the room rakes across them. “crack in ceiling drywall repair” goes through the warning signs in detail.
- The drywall is wet, spongy or smells musty. Find and fix the leak first, dry the cavity, replace saturated board. Sealing moisture behind a patch grows the problem inside the wall.
- The same crack has come back twice. Two failures is data. Something is moving, and the next repair needs framing work, not more tape.
- The crack crosses an inside corner or an outside bead. Corners need the old failed tape removed and the adjacent framing checked. A rigid filler-only repair there always splits again.
Typical crack repairs are small-ticket work. Drywall crack repair cost for a single stable crack usually falls at the low end of a contractor’s small-job minimum. The full breakdown lives in “drywall repair seams.”
For the cases that do call for a specialist, Precision Patch Pros handles patching, texture matching and paint touch-ups across Kern County, the Antelope Valley, the high desert and the north Los Angeles valleys, licensed and insured under CSLB License #830875, with a 5-year workmanship guarantee and 63 five-star Google reviews as of September 2026. Get your photo quote in 10 minutes and find out whether your crack is a one-visit fix or a sign of something underneath.
Frequently Asked Questions
Can you repair a drywall crack without tape?
Only if the crack is a true hairline under 1/16 inch in a surface coating, with no movement and no seam underneath. Everything wider or anything over a taped joint needs reinforcement. Compound alone has no tensile strength across a gap. A filler-only repair in a moving crack typically reopens within one heating or cooling season.
What spray can I use to repair cracks in drywall?
Aerosol texture sprays in orange peel and knockdown are useful for blending the finish after the crack is taped and sanded, not for the repair itself. There are also spray-on crack fillers that bridge a hairline temporarily. They’re a cosmetic layer. For anything that has cracked once already, tape and compound are the repair and the spray is just the texture match.
Do drywall repair kits work?
For small holes and short, stable cracks, yes. A kit usually includes a mesh patch, a small tub of compound and a plastic knife, which covers a doorknob hole or a crack under about a foot long. The kits fall short on long cracks, corners, ceilings and anything textured. They include no setting compound, no feathering knife and no way to match the surrounding surface.
What is considered a small drywall repair?
Roughly a single crack or hole in a flat, stable wall that can be taped, coated and sanded without cutting out and replacing board, generally under about 6 inches across for a hole. Once the damage spans more than a couple of feet, crosses a corner, sits on a ceiling or requires a texture match across a large area, it stops being a small repair in practical terms. Even if the damage looks minor.
What types of cracks can you not ignore?
Any crack that signals movement or moisture instead of plain shrinkage. The stop and reassess list above names them. Those causes keep working on the wall after the patch is painted.
How long should drywall compound dry before sanding?
Premixed all-purpose compound typically needs about 24 hours at roughly 70°F and 70% humidity. Longer in cool or damp conditions. Setting compound can be sanded once it’s fully hard and the surface has lost its cool, damp feel, which is usually a couple of hours after the stated set time for a thin coat. Sanding early produces gouges and soft spots that show through paint.
How do I repair a drywall crack caused by a water leak?
Fix the leak first, then let the cavity and framing dry completely before any drywall work starts. Cut out and replace board that’s soft, stained or warped. Dried-out saturated gypsum never regains its strength. Only after the area is dry and sound does the tape-and-coat process apply. A stain-blocking primer is required before paint so the old stain doesn’t bleed back through.
What is the best filler for cracks in drywall?
It depends on the crack width and whether you need speed or workability. Setting-type compound handles the structural fill and lightweight compound handles the finish coats. “drywall repair seams” compares the options in full.